*Contains affiliate link. If you use the link to purchase, I will receive a small commission.
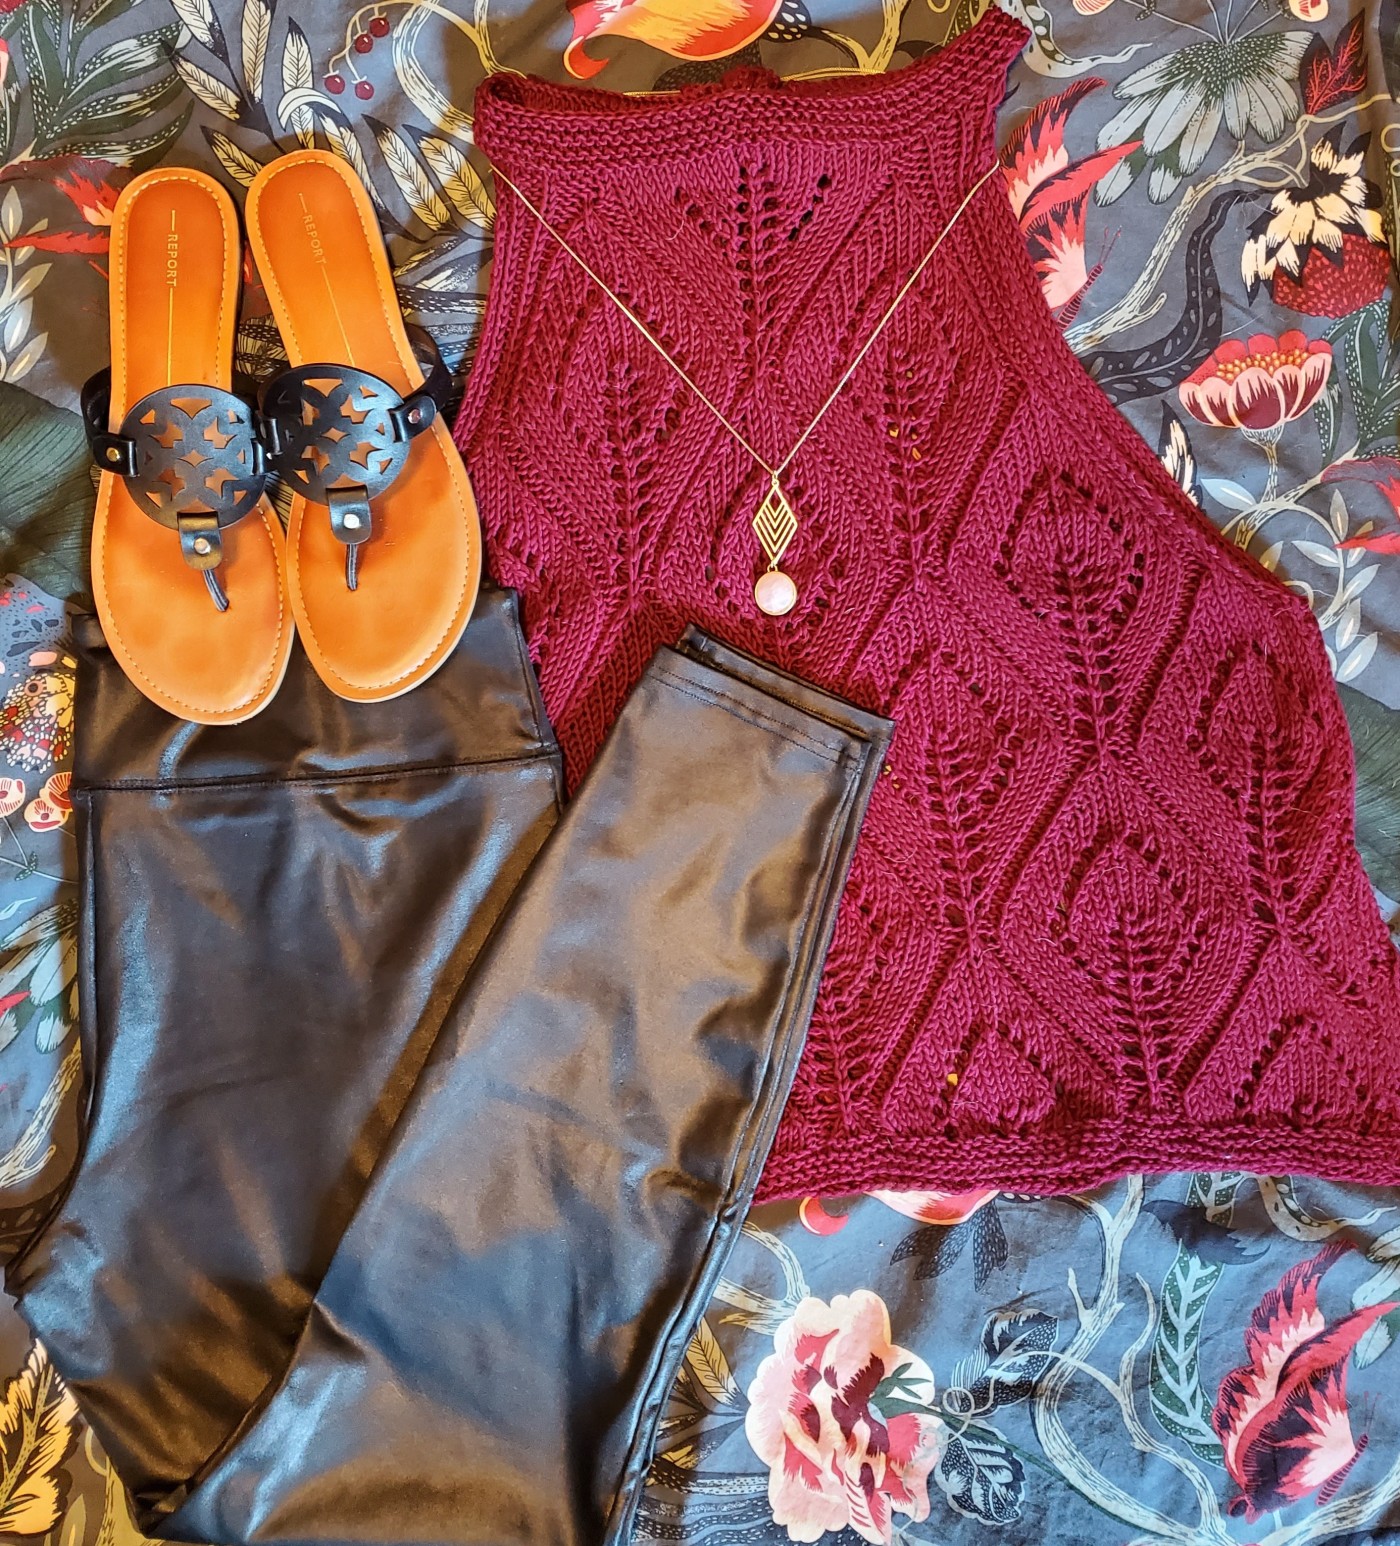
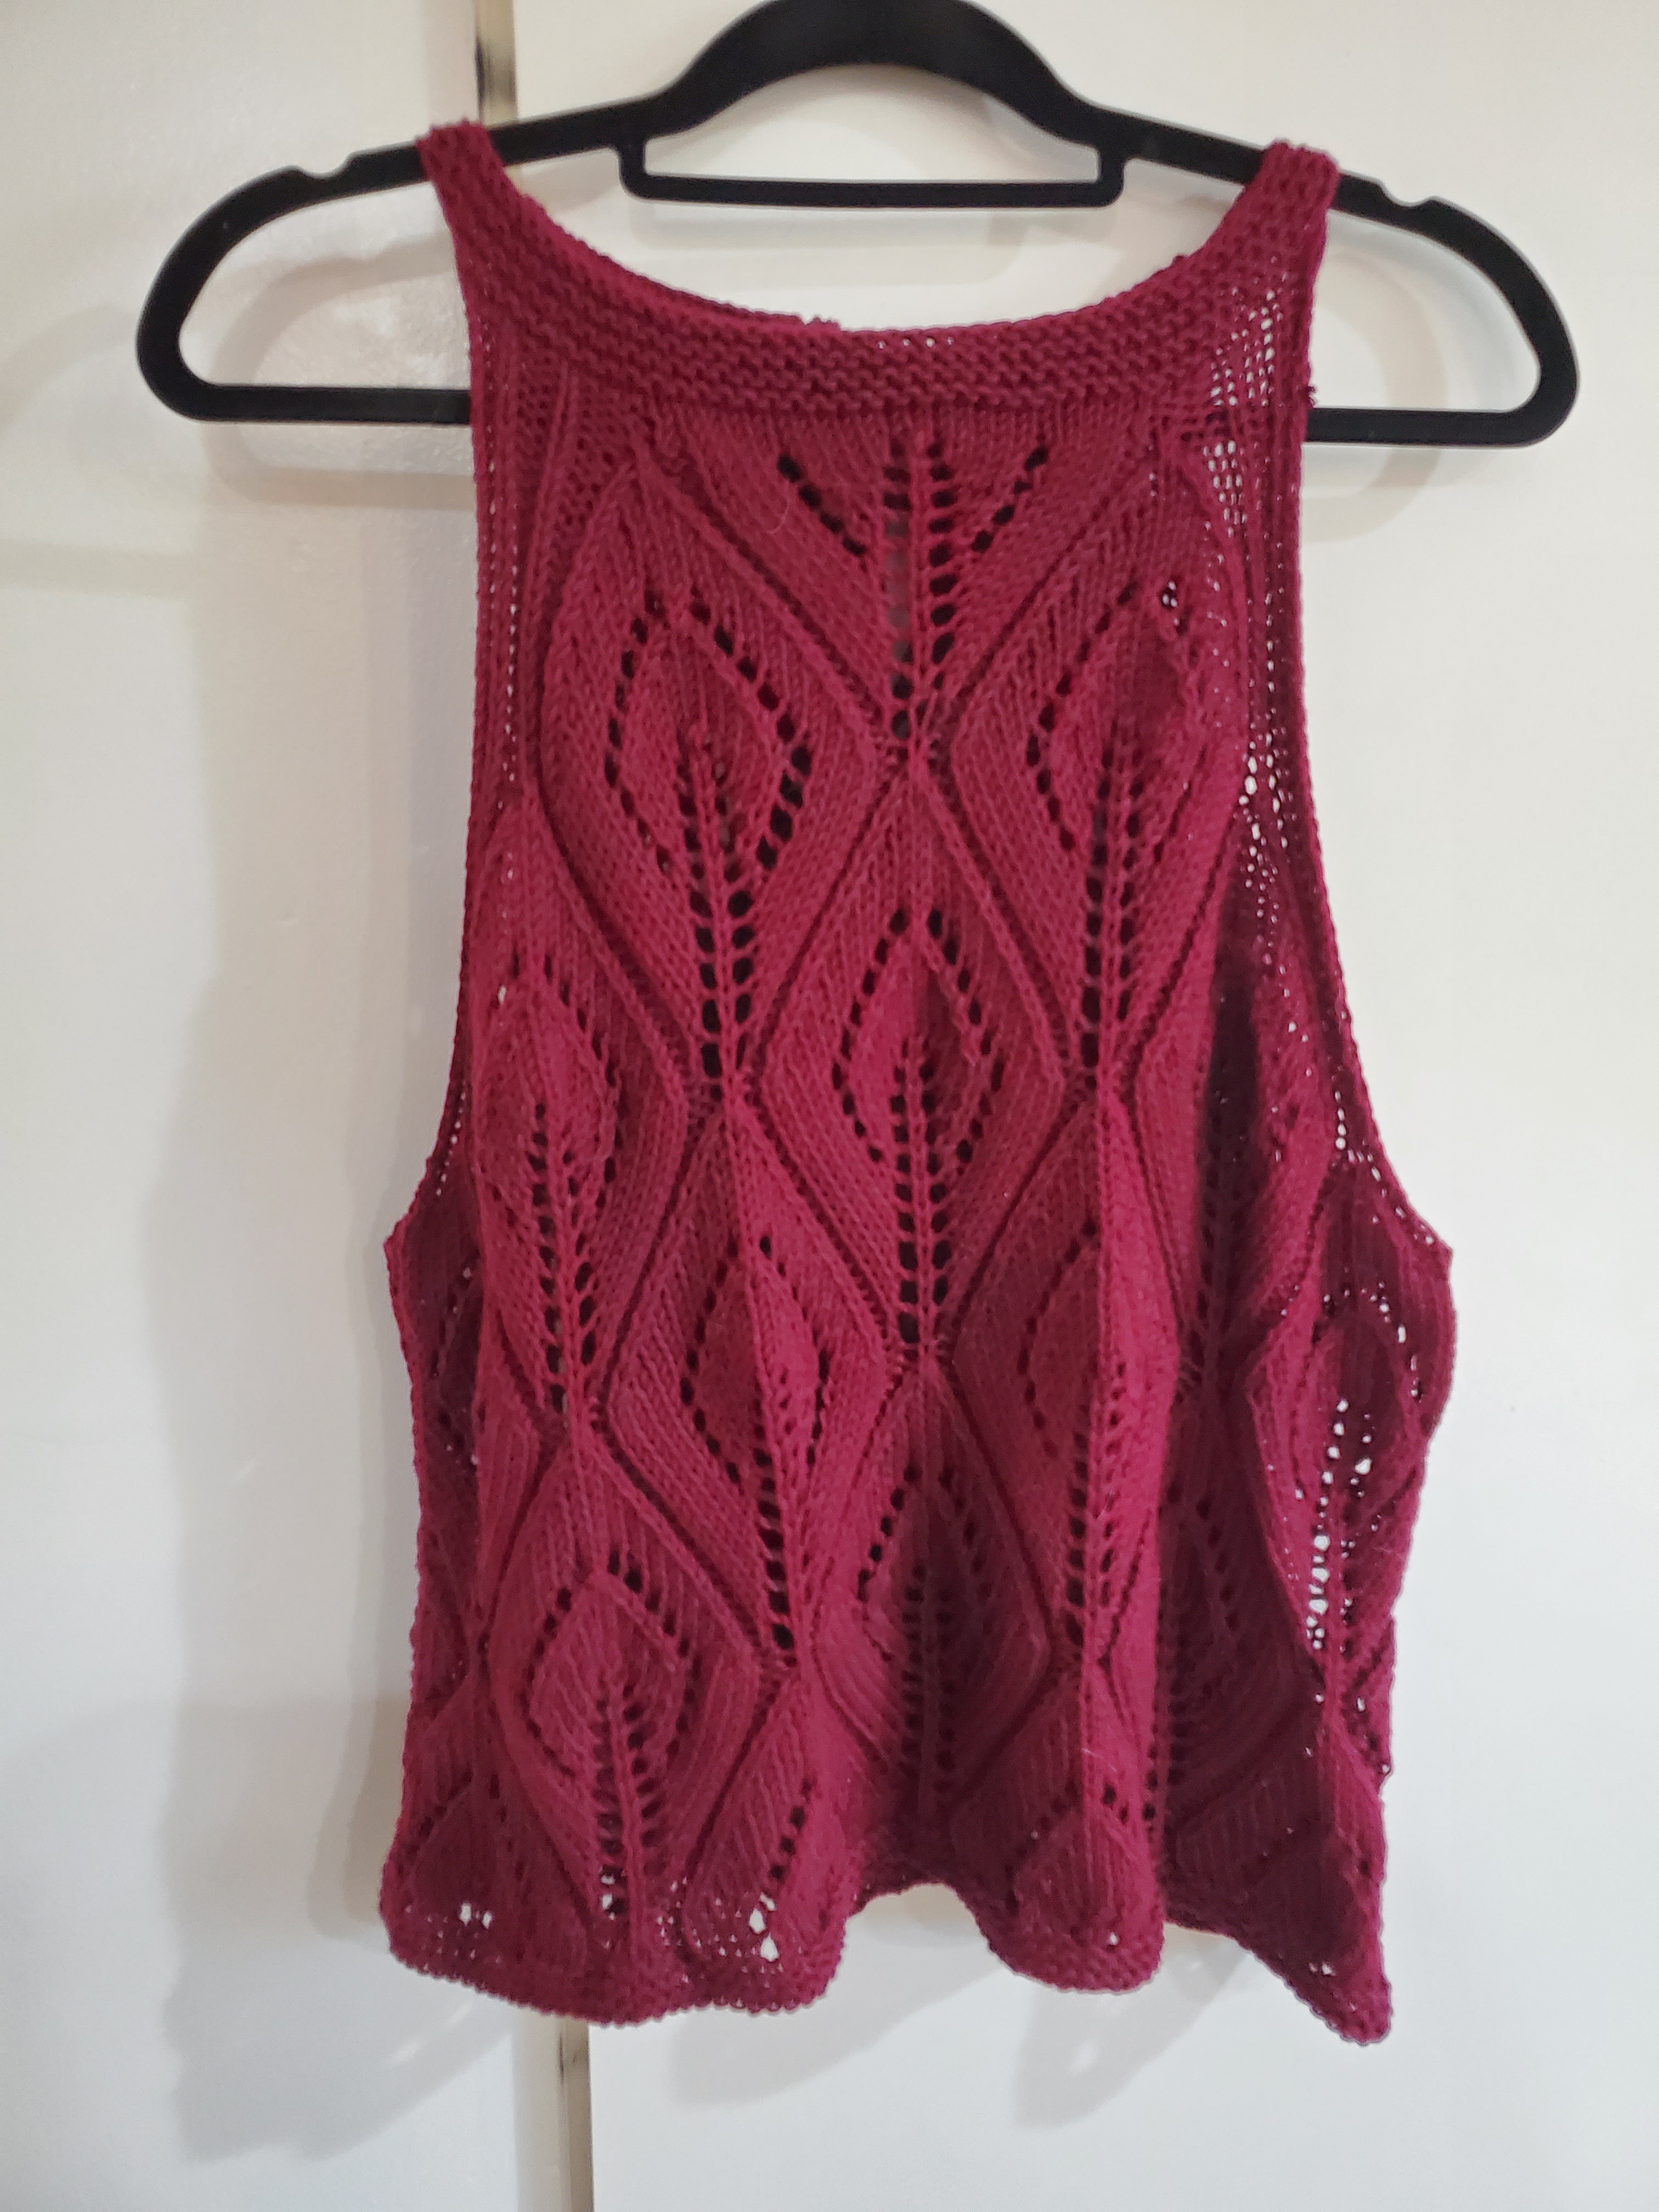
After a few weeks of frustration and learning and staring in awe at the piece I’ve created, the Cala Top is FINALLY finished!


You can find the kit for the Cala Top here and the WAK Summer Box here. If you use my WAK Friends code (MGMTBDSLX), you get $12 off your first purchase and I get $12 off of a future purchase. This means I get to buy more fun… terrifying… projects to try!
This was my first time making an article of clothing and one of the few times I’ve knitted from a chart. As a result, there were a lot of techniques I tried for the first time (or nearly the first time):
Charts
I have tried a few times to knit patterns from charts. Usually they were unsuccessful and I ended up with a jumble of stitches that looked nothing like they were supposed to. This time, I took great care to make sure every stitch was right (and it paid off).
For this project, I used a PDF version of the pattern and found it easier to cross off the rows on my iPad as I went along.
Honestly, I prefer to have a paper chart. I can keep track of my rows by using a ruler or another piece of paper as a guide and I can write down the stitch key on a sticky note and slap that bad boy right onto the page so I don’t have to keep flipping back and forth.
Side note: I found out that I have been yarning over the incorrectly the ENTIRE time I have been knitting and it’s probably the biggest reason my past attempts to knit lace have failed miserably.
Lifelines
Since starting a blog, I have spent more time reading other blogs. It just so happened that I came across some posts that mention lifelines and boy am I glad I stumbled onto that little tip because my lifelines saved me so many times! They helped me so much, I made my own post about them. You can find it here.
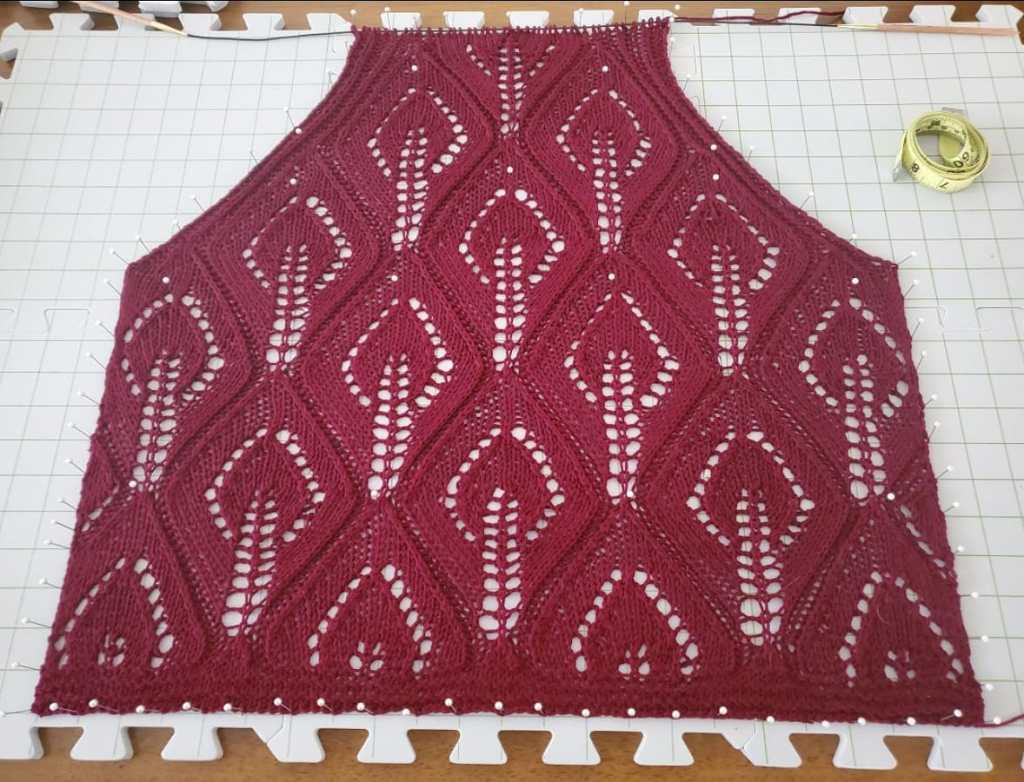
Blocking
After searching Pinterest for some diy blocking tips, I decided to go with actual blocking boards. I bought two packs of these Boye Interlocking Blocking Boards*.
I figured with it being my first time blocking a whole project, I could use whatever help I could get by way of “professional” materials. I can’t speak to how well other blocking boards perform but I must say I was pretty pleased. The foam is firm and I like that the size is easily customized. The boards also withstood some cat attacks which is a plus in my book.
To secure my top, I used quilting pins that I already had and not T pins as so many blocking tutorials suggest.
Once I got all my materials together, I got real serious about measurements. I wanted everything to line up just right and, more importantly, for the front and back pieces to fit together.
Turns out, the tension for the front and the back pieces ended up different (oops) but not so different that I couldn’t easily line them up with a little blocking.
The front, which I blocked first so I could finish knitting the ties, took me about an hour to get pinned down.
The back definitely took less time, because obvi I was a pro at this point. Sadly, I forgot to snap a picture of the back being blocked 😦
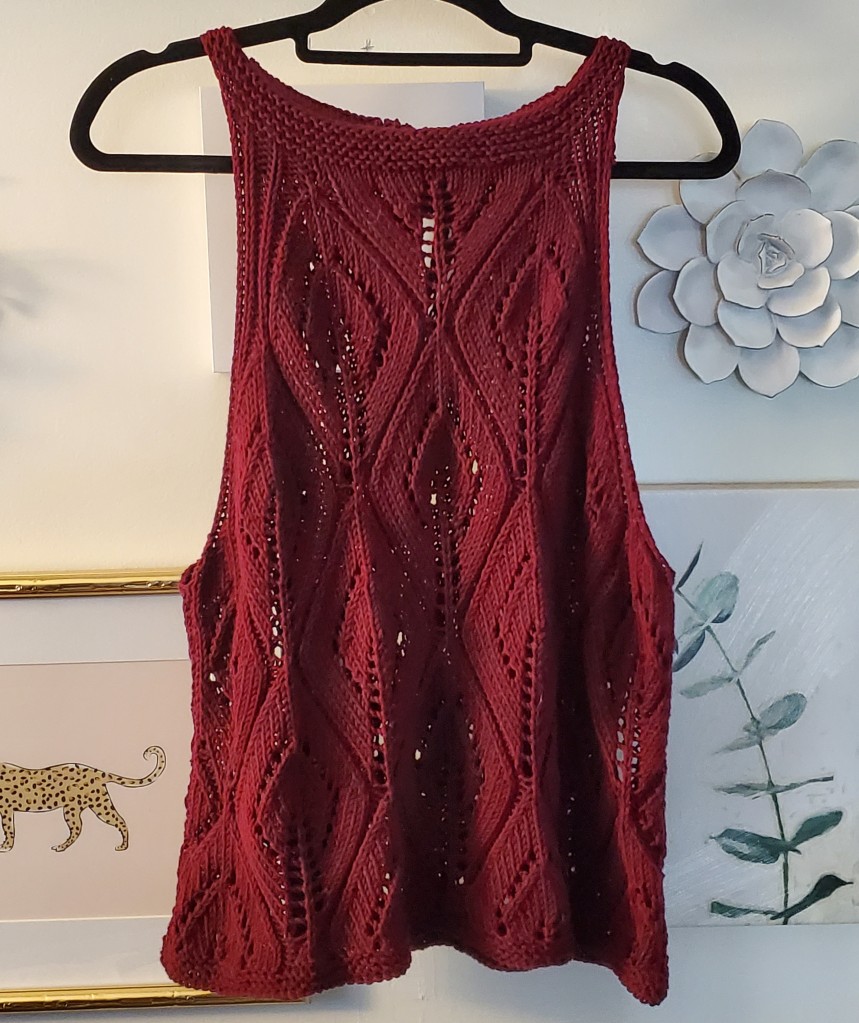
Anyway, two days later I ended up with two beautiful blocked pieces. HOORAY!
Assembly
Sewing the front and back together turned out to be the easier part. I vividly remember learning how to invisibly seam together pieces of fabric in Middle School Home Ec so I just used the same principles… and this tutorial from We Are Knitters.
Final Thoughts
All in all, I would say this was a pretty successful first project. I still have a lot to learn about knitting in general and about blocking but wearing this top (THAT I MADE!) is so satisfying, I am willing to go the distance over and over again.

Looks like you did a great job, and lots of firsts well done 🙂
I haven’t tried a whole garment in lace I don’t think I’d have that kind of patience!
LikeLike
Thanks! It was definitely a test of my patience. I started a new project half way through just to break it up 😅
LikeLike